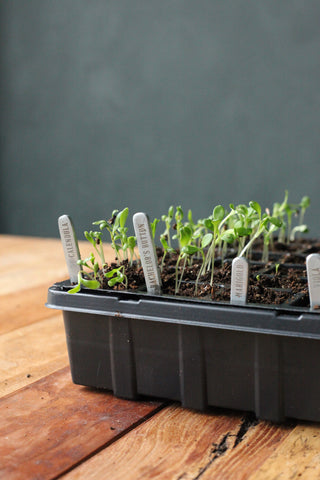
Tips from our team to your garden - organic, effective pest repellents, fertilizers, and more.

Pest Deterrents and Fertilizers
-
Crush rinsed, cleaned eggshells. Place them around the base of the plant to deter slugs, or mix them into the soil to increase calcium content.
-
Soak banana peels in some water for a few hours for use as a quick fertilizer.
-
Pour coffee grounds and leftover black coffee around plants that like acidic soil. It also deters slugs, snails, and other pests.
╠²
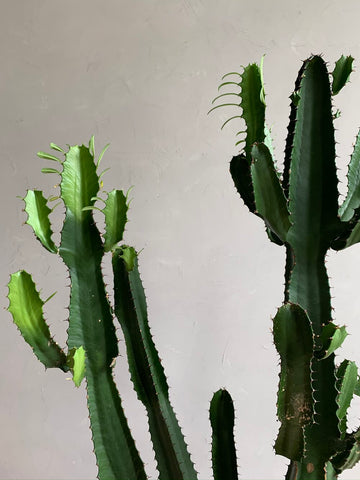
Acid-Loving Plants
Flowering trees and shrubs: hydrangeas, azaleas, dogwoods, magnolia
Vegetables: sweet corn, cucumbers, lettuce, leeks, eggplant
Herbs: lemongrass, thyme, rosemary, basil, oregano
╠²
DIY Insecticide
Add 2-3 tsp of dish soap to 1 gallon of water.
Spray every 2-3 days until the infestation is gone.
Fungus and weeds, be gone!
-
Sprinkle ground turmeric, or apply a quick paste (made with a touch of water), to heal a damaged plant as it has antibacterial & antifungal properties.
-
Sprinkle ground cinnamon on the topsoil of both indoor & outdoor plants as a fungicide. Cinnamon reduces the growth of mold and mildew on the soil and also keeps away mosquitoes, gnats, and mites.
╠²
DIY Fungicide
Mix 1 gallon of water with 3 Tbsp vegetable oil.
Funnel into a spray bottle.
Spray on leaves, front and back.
╠²
DIY Weed Eliminator
Mix 1 gallon white vinegar, 1 cup salt, and 1 Tbsp dish soap.
Funnel into a spray bottle.
Spray on leaves and stems of weeds, but avoid saturating the soil!
Arber Plant Care Collection
Add a nourishing organic boost to your garden and houseplants with Arber, a science-backed line of plant wellness products for indoor and outdoor green spaces.
Organic Plant Food, Organic Bio Fungicide, Organic Bio Protectant, Organic Bio Insecticide are available in our Garden Collection here.

Cheers to your garden thriving, and your future harvests, whether vegetables or blooms. Show us what you grow!
]]>